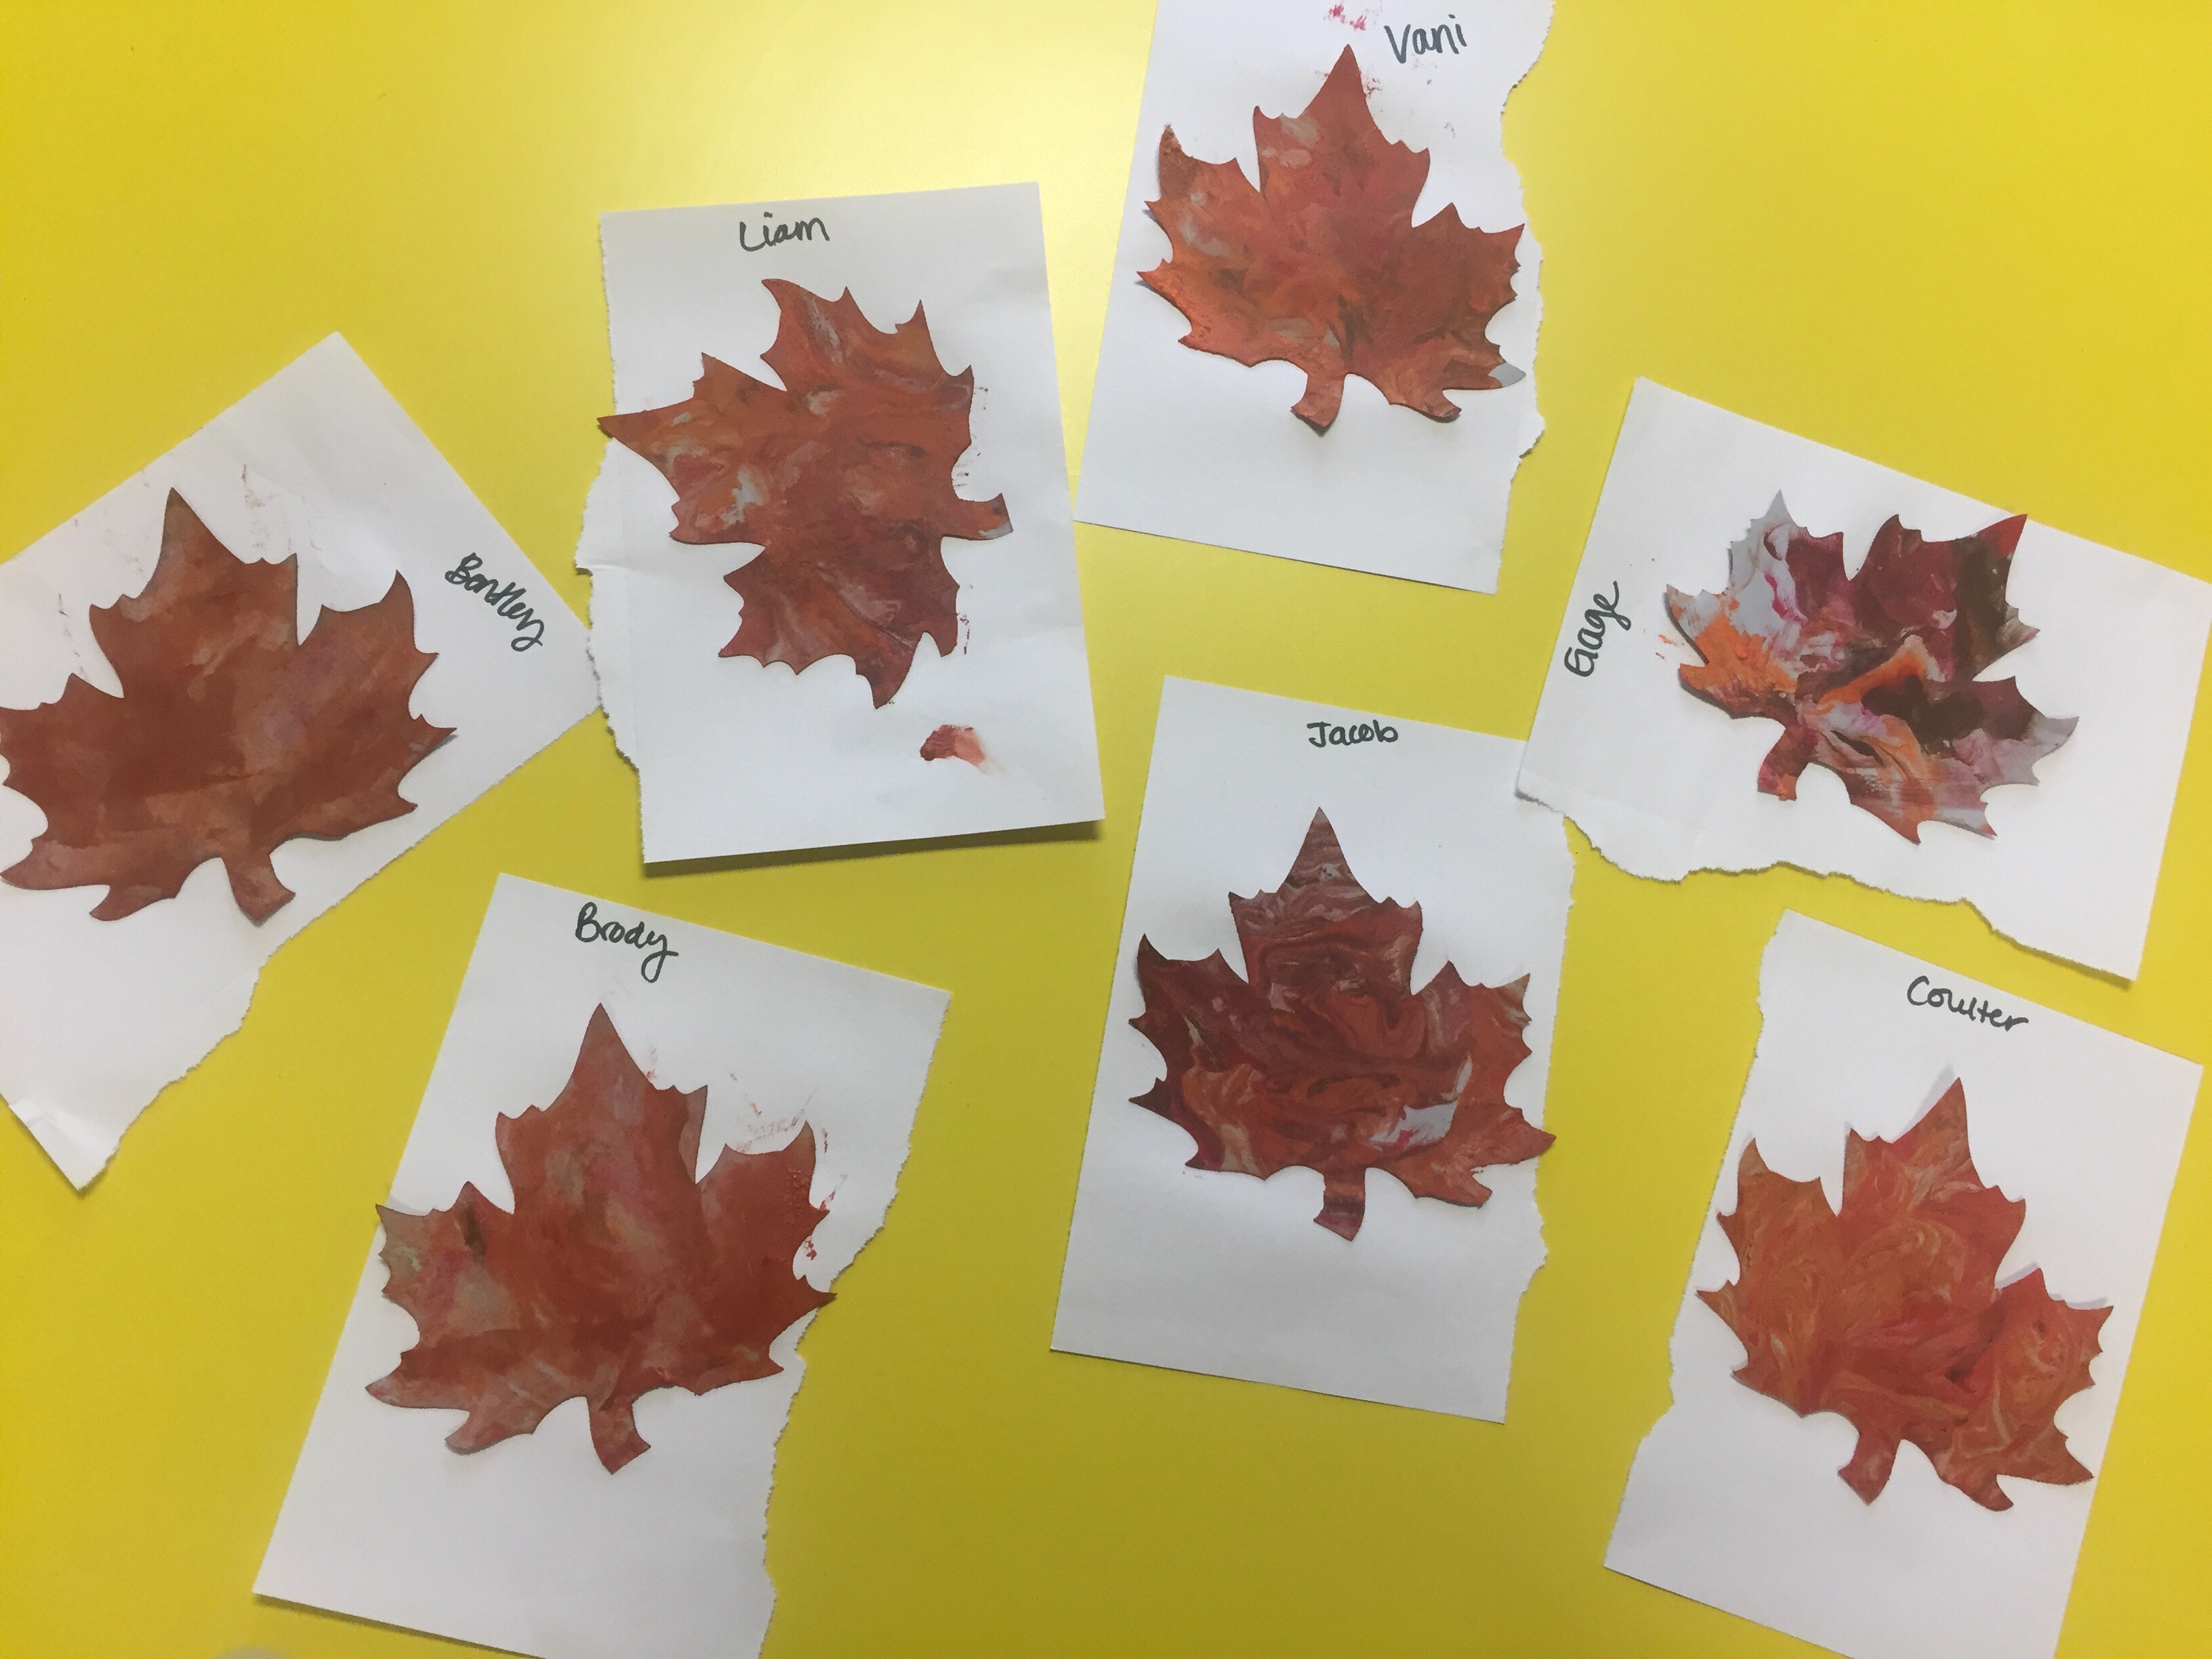
In a previous blog, part-time working – full time mommying I talked about one of my part time jobs as a preschool teacher. One thing I love about teaching, is the creative outlet that it can be.
Shaving cream painting was a recent craft I tried with my class for the first time. I usually prefer crafts that allow the students to do most of the work, but the students really enjoyed playing in the shaving cream and picking colors.
I thought I’d share the steps because this super easy activity can be fun for all of the holidays and can be a fun craft to do at home, as well!
Ingredients:
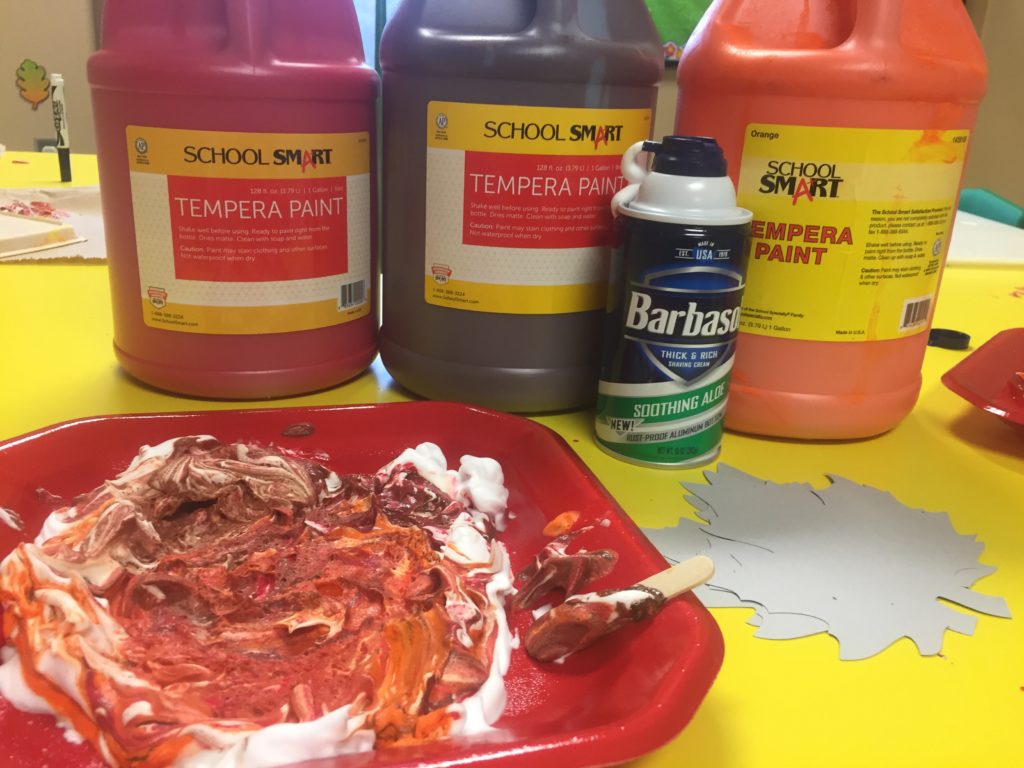
Step 1:
Put shaving cream and colored paint in a tray/plate, use the popsicle stick to stir the paint around, mixing the colors and making cool designs.
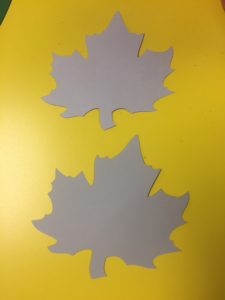
Step 2: Set the card stock cut-outs into the shaving cream/paint mixture, let it sit in the mixture for a minute or so.
Step 3: Carefully lift the cut-out out of the mixture and set on a paper towel, leave all shaving cream/paint remanence on the cut-out – this is when the card stock really can absorb the colors and designs.
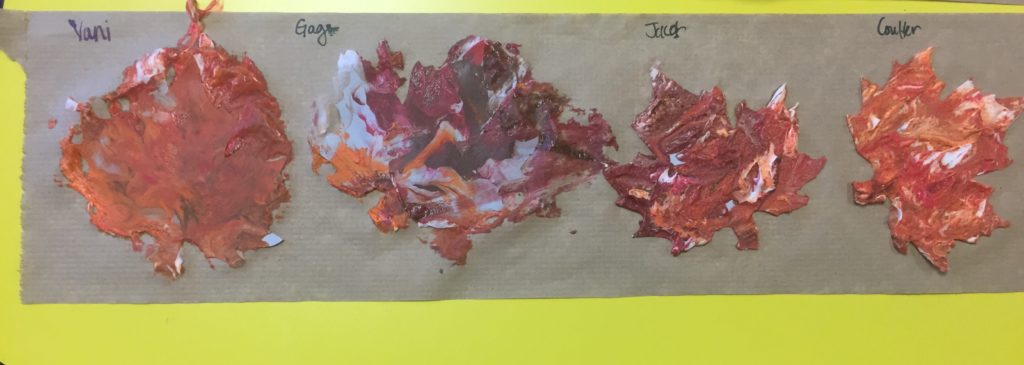
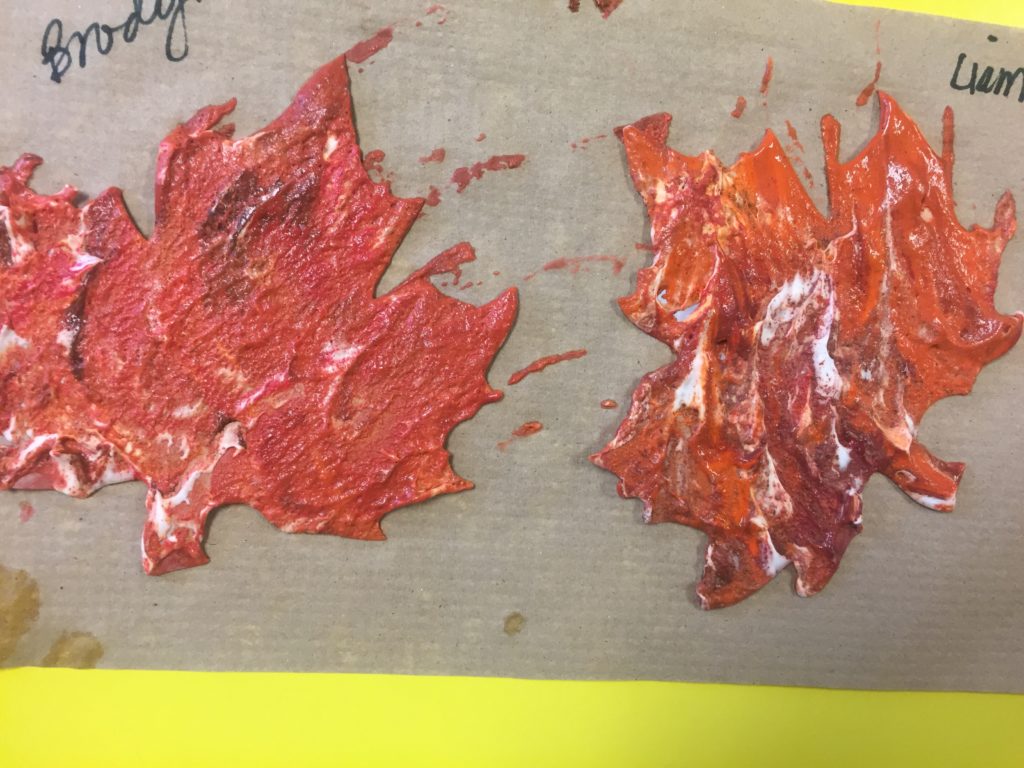
Step 4: After about 5 minutes, use a scraper of some sort – piece of cardboard, anything with a flat side – to lightly scrape off the excess shaving cream/paint mixture. You should immediately see how the beautiful designs have transferred onto the cut-out.
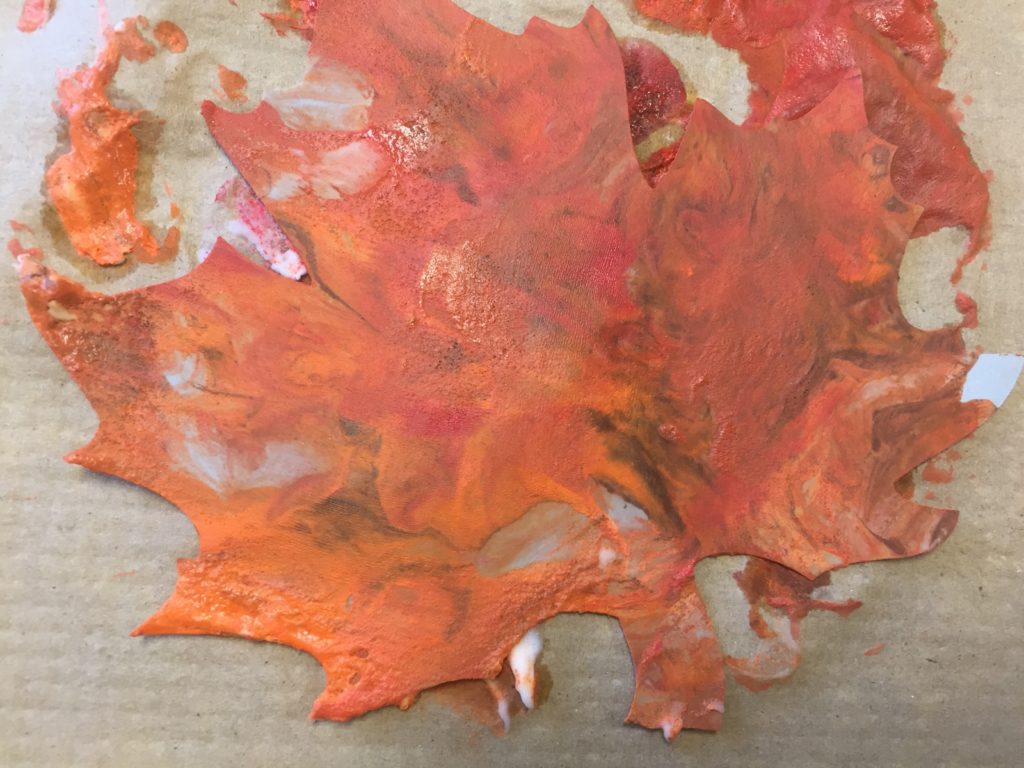
Step 5: Continue to let the cut-out dry.
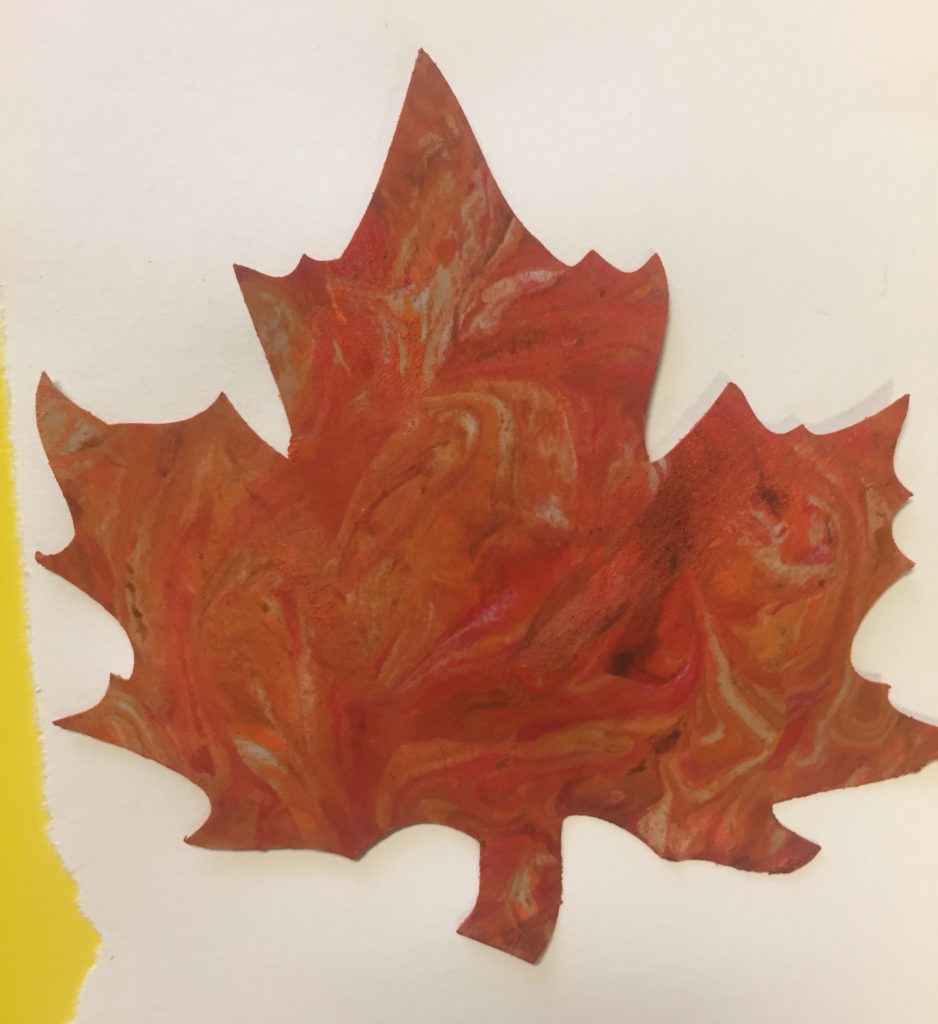
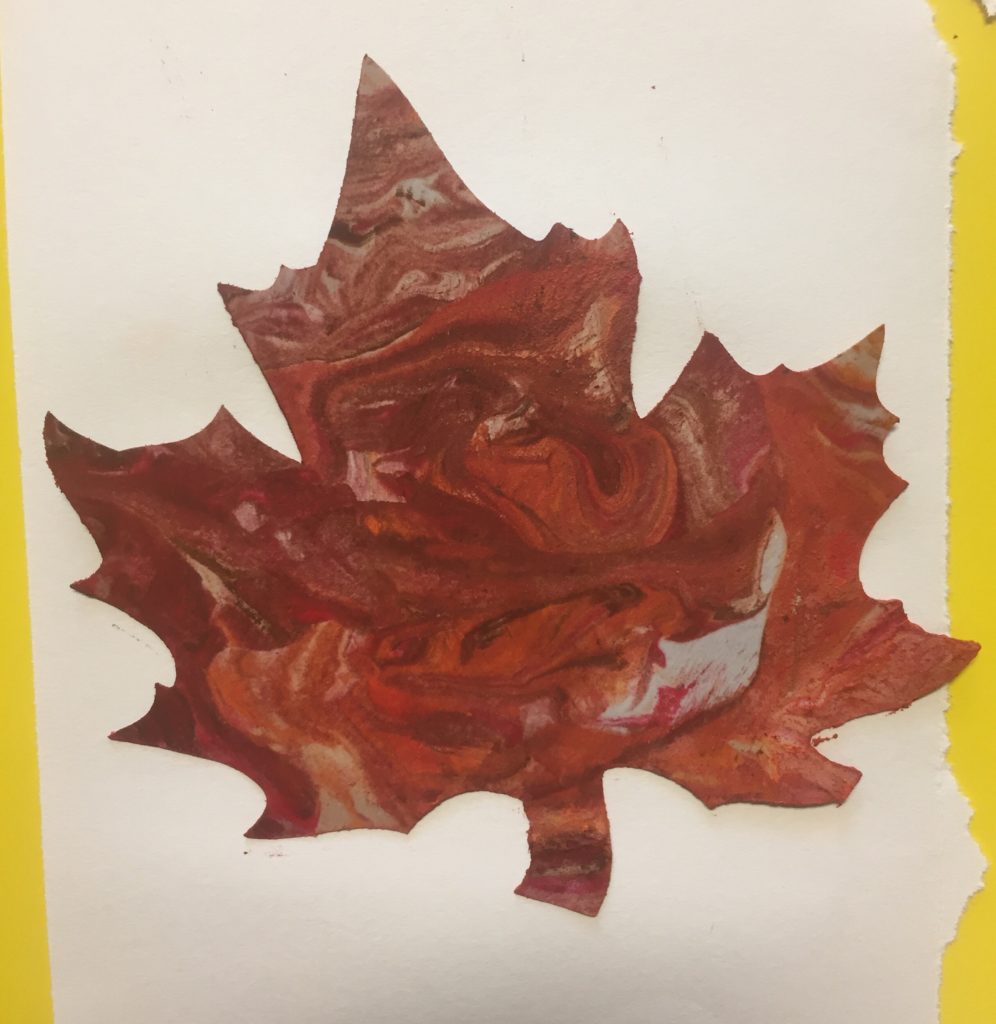
This craft was super easy and turned out great! I’ve seen this same process done for Easter Eggs, ocean/fish – I might even try it again with Christmas ornament cut-outs.
Let me know if you try this craft – have any extra tips or tricks – or can share your pics! 🙂

